A Texture is an image you can place on any face of a part or union that repeats both horizontally and vertically on the size of the surface. In contrast, a Decal is an image that stretches to fit the area of a part or union's surface. After you add a Texture or Decal object to a part or union, you can:
Change the texture or decal Color3 property to set a color tint using RGB color codes.
Change the texture or decal Transparency property to a value between the default of 0 (fully visible) and 1 (invisible).


Create textures or decals
To create a texture or decal, you must add either a Texture or Decal object to a part or union. You can import images for textures and decals to Studio for use between games, and distribute them to the Creator Store. Once you import the image, Studio assigns it a unique asset ID.
To add a texture or decal to a part or union:
In the Properties window, navigate to the Face property and choose a face (Top, Bottom, Front, Back, Left, or Right).
- OPTIONALTo assist in choosing the correct face, right-click the part/union and select Show Orientation Indicator. This displays a circle 🅕, a blue line attached to the object's front face, and a green arrow that points in the direction of the object's top face.

Select the ColorMapContent property and apply an image through any of the following methods:
- Select any texture or decal you've uploaded previously.
- Enter an asset ID into the field.
- OPTIONALSet the Transparency property to any value between the default of 0 (fully visible) and 1 (invisible).
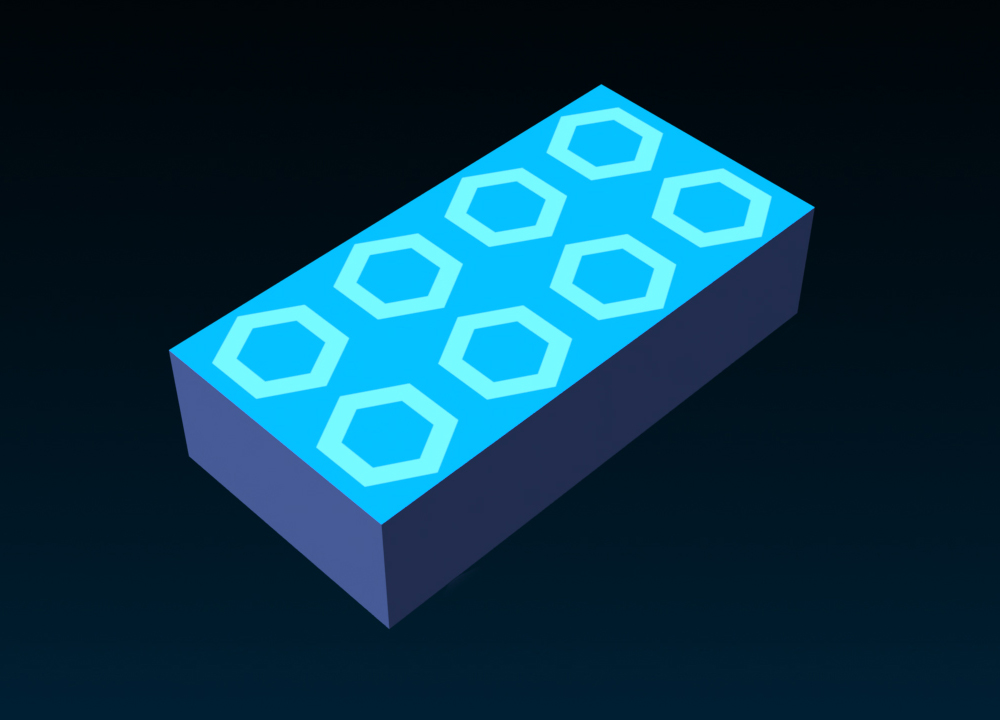
Transparency: 0 
Transparency: 0.6


Customize textures
Unlike decals, textures provide further functionality to scale, offset, and animate the source image.
Scale textures
The size of the part doesn't affect the texture. Instead, scaling a part only increases or decreases the number of times the texture repeats.
The StudsPerTileU and StudsPerTileV properties determine the size of each "tile" in studs. StudsPerTileU determines the texture's horizontal size while StudsPerTileV determines the texture's vertical size.

Offset textures
If you want more control over a texture's position, offset the texture by adjusting the OffsetStudsU (horizontal) and OffsetStudsV (vertical) properties. This is also helpful for animation.

Animate textures
Using TweenService, you can tween texture properties like OffsetStudsU and StudsPerTileV to achieve animated surfaces. For example, if you apply two fog textures to one container and animate them with the following script, you can achieve the appearance of a layered moving fog.
local TweenService = game:GetService("TweenService")

local texture1 = script.Parent.Texture1
local texture2 = script.Parent.Texture2

local tweenInfo1 = TweenInfo.new(8, Enum.EasingStyle.Sine, Enum.EasingDirection.InOut, -1)
local tween1 = TweenService:Create(texture1, tweenInfo1, {OffsetStudsV=50})
local tweenInfo2 = TweenInfo.new(7, Enum.EasingStyle.Sine, Enum.EasingDirection.InOut, -1, true)
local tween2 = TweenService:Create(texture2, tweenInfo2, {OffsetStudsU=50, StudsPerTileU=55, StudsPerTileV=45})

tween1:Play()
tween2:Play()
Texture streaming
Texture streaming dynamically loads textures based on distance and camera view, which lets you use textures more freely without worrying about scaling across devices. The engine loads baseline-quality textures first, in order of importance, and then progressively raises the quality of each texture up to the memory available on the device. Texture streaming is enabled automatically, so you don't have to take any action to benefit from it.

Benefits
- Faster perceived load times and smaller downloads: Textures appear almost immediately at a baseline quality, and the engine downloads only the detail it needs, compressing it both in transit and on the local disk cache.
- Higher quality where it matters: The engine continuously estimates how important each object is, such as by how much screen space it occupies, and uses the memory budget on those textures so that the most prominent objects get the highest detail.
- Fewer out-of-memory crashes: Because the engine stays within a memory budget and can lower texture quality when memory runs low, players are much less likely to crash from texture memory spikes.
Texture streaming works with MeshPart (skinned and unskinned), SurfaceAppearance, Texture, Decal, MaterialVariant, Beam, ParticleEmitter, and the base materials applied to PartOperation and BasePart instances.
Best practices
- Favor unique, individual textures over texture atlases unless the atlas is applied to batchable parts; requesting a high resolution for one texture in an atlas streams in the entire atlas at that resolution.
- Use near-uniform texel density in your UV-mapped meshes so that the engine can select the best resolution for each texture.
- Continue to manage texture memory carefully for instance types that texture streaming doesn't support yet.