Parts are basic 3D shapes that Roblox provides out-of-the-box for building in the 3D space. In this chapter, let's explore how to insert parts of all shapes and sizes, change their position and rotation for your obby, then anchor them in the air so that they don't fall due to Studio's gravity.
Insert parts
There are five different part shapes that you can insert from the toolbar to build environments in your experiences: block, sphere, cylinder, wedge, and corner wedge. While you can join these part shapes together in unique ways to form more complex shapes, this lesson focuses on keeping the shapes as-is for your obby's platforms.
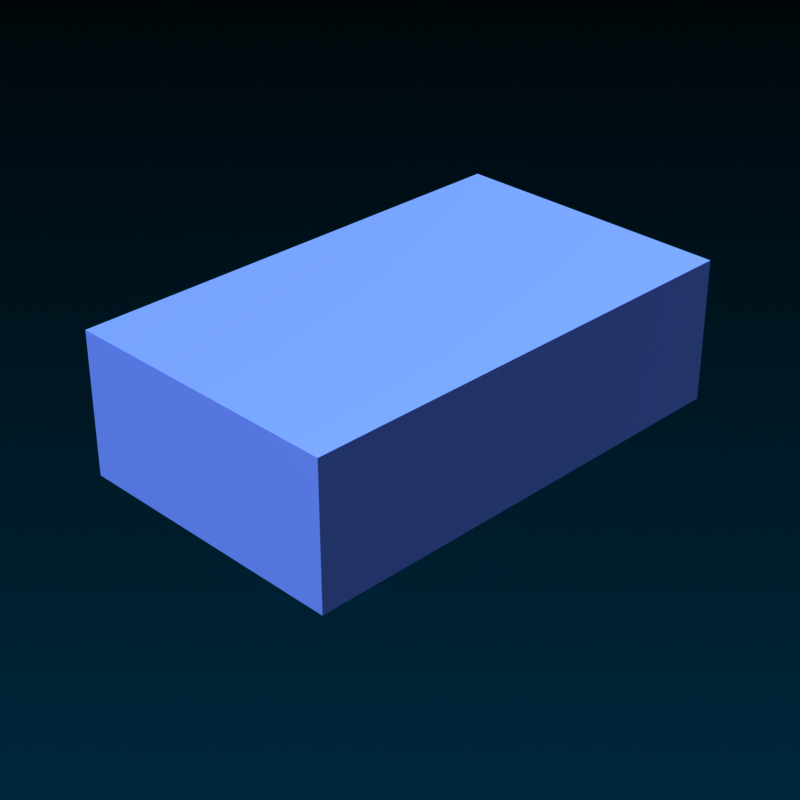

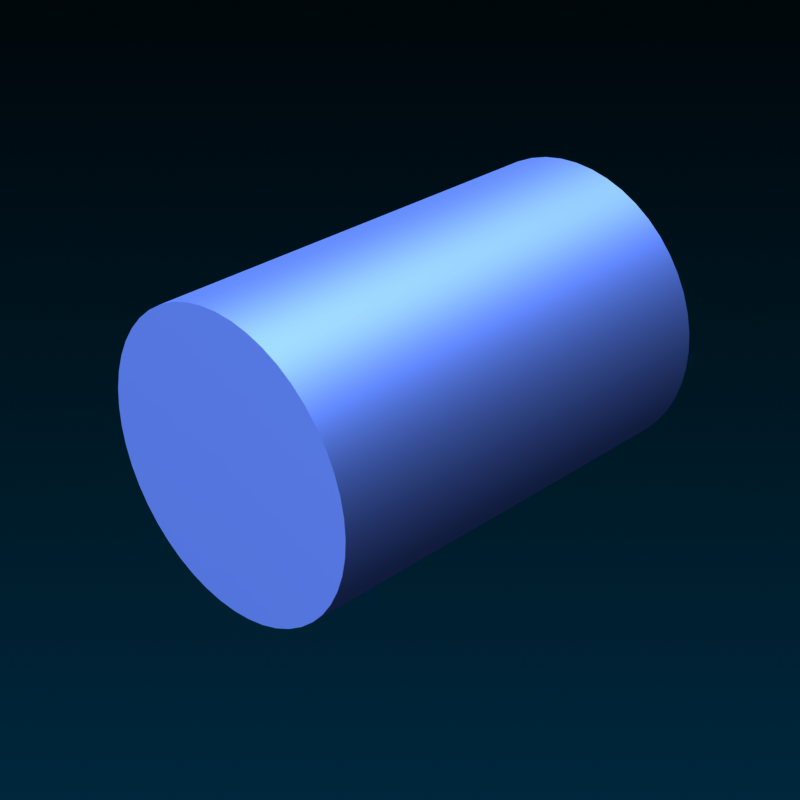
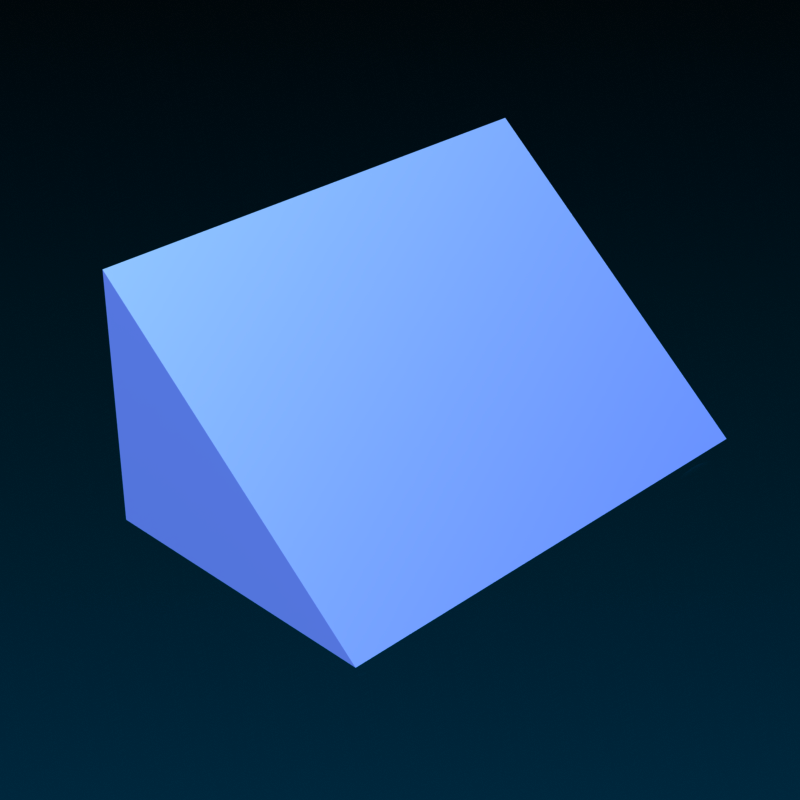
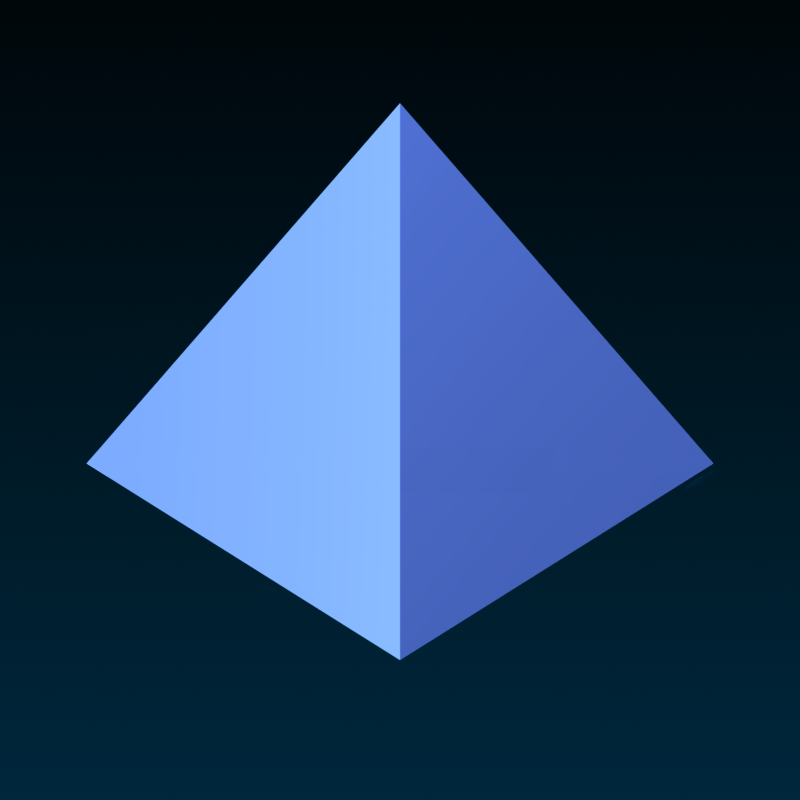
To insert a part for your first platform:
- OPTIONALWhen you insert parts, they appear at the exact center of your camera view. Select the START platform, then press F to focus the camera on this part so your additional platforms insert near the start of the obby.
In the Home or Model tab's toolbar, click the part type picker. A dropdown menu displays.

Select the part shape you want for your first platform. The part displays at the exact center of your camera view.

Using this process, insert additional shape types until you have as many platforms as you want for your obby.

Customize course
Now that you have platforms for your obby, it's time to customize their position, size, and rotation to create a jumping puzzle for the start of your obby. To do this, you will use three different object tools:
- Move - Changes your object's position.
- Scale - Changes your object's size.
- Rotate - Changes your object's orientation.
Each of these tools includes visual handles you can use to move, scale, or rotate your object using Studio's coordinate system for the 3D space. When you click and drag one of the handles, the object moves, scales, or rotates, respectively.
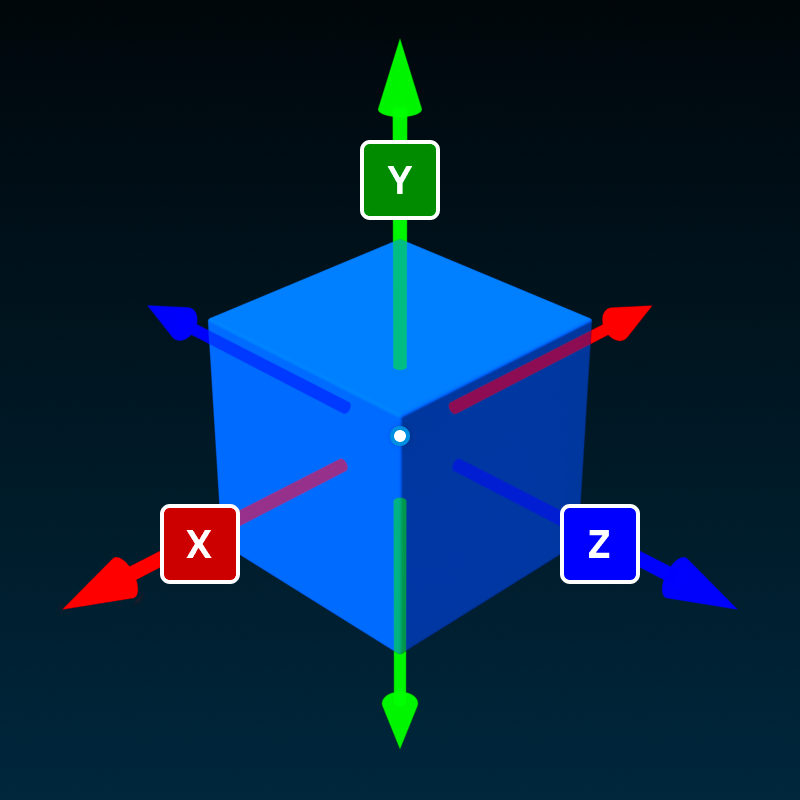
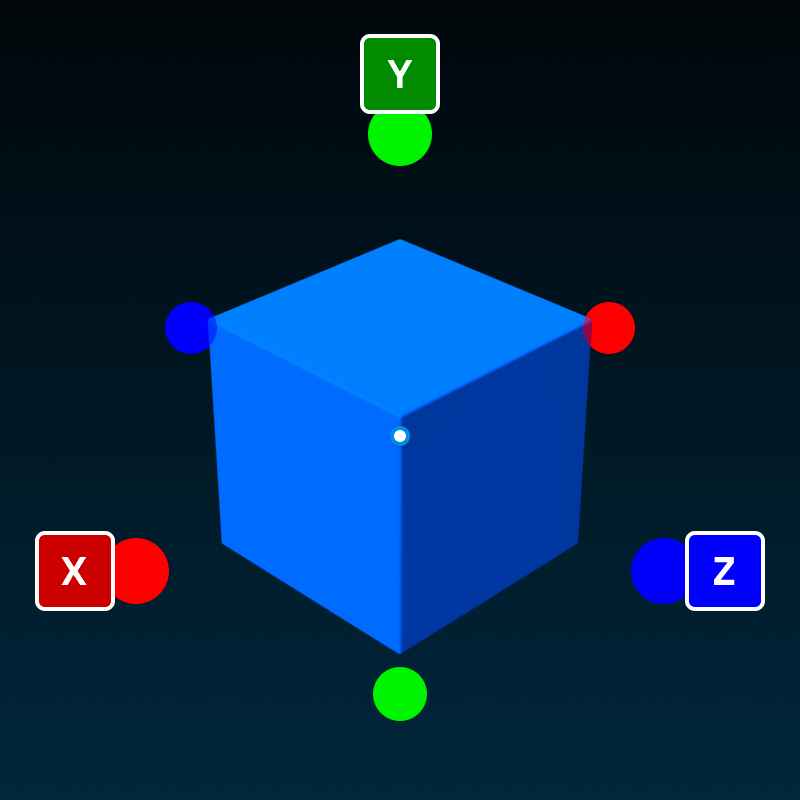
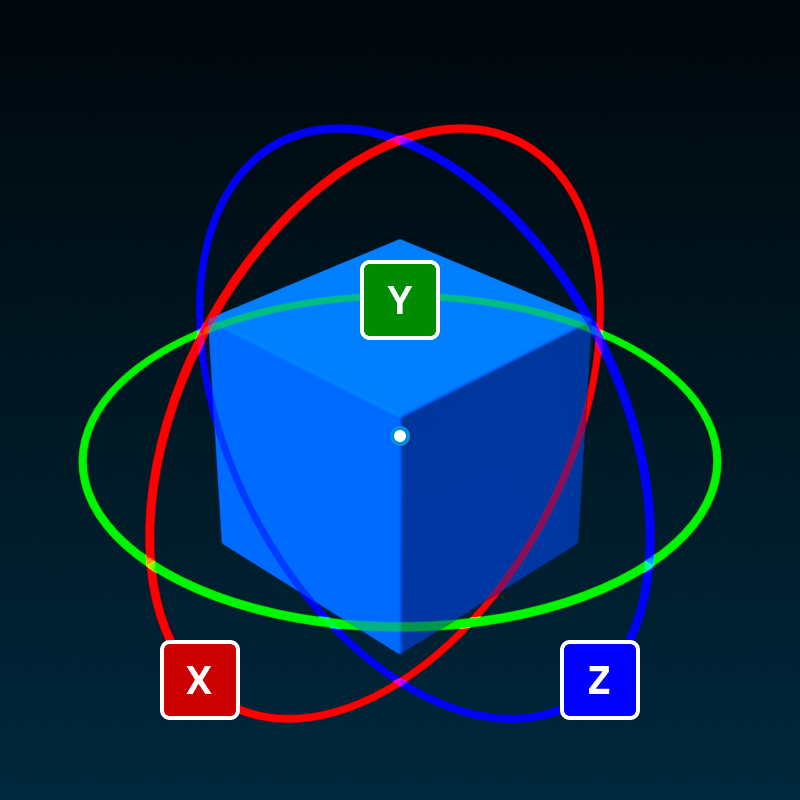
To customize your course for your obby's starting jumping puzzle:
Change the position of your first platform.
In the viewport, click on the part shape that you want for your first platform.
In the Home or Model tab's toolbar, select the Move tool. A set of handles display around the part.

Click and drag one of the handles until your part is at a good jump distance away from where players join the experience.

Change the size of your first platform.
In the Home or Model tab's toolbar, select the Scale tool. A set of handles display around the part.

Click and drag one of the handles until your part is a different size.

Change the orientation of your first platform.
In the Home or Model tab's toolbar, select the Rotate tool. A set of handles display around the part.

Click and drag one of the handles until your part has a different rotation.

Using the following camera controls, check your part's position and orientation from multiple angles to make sure that players would be able to jump to the first platform.
Action Control Move W A S D Rotate Hold the right mouse button to rotate around the selected object. Zoom Use your mouse's scroll wheel. Focus Press F to focus on a the selected object. 
Repeat this process for the rest of your platforms.

Anchor platforms
If you were to playtest your experience now, all of your new platforms would immediately fall and disappear. This is because the Roblox engine simulates gravity as soon as the experience runs, allowing the physical force to push objects down.
To make sure your platforms stay at their set position and orientation when the experience runs, you must anchor them within the 3D space using the Anchor tool. In addition to preventing gravity from pushing the platforms down, anchoring your platforms ensures they will stay in place when players and other objects bump into them.
To anchor your platforms:
While holding the Shift key, select all of your new parts.
In the Home or Model tab, select the Anchor tool.

Now that you have all of the platforms in place for your obby's jumping puzzle, it's time to add code with AI Assistant to modify part behavior.