Congratulations on building your first obby with Roblox Studio! Now that you have experience creating and customizing basic parts with unique visuals and behavior, you can share your creation with friends and extend your skills by learning about Studio's additional building features.
Share with friends
When you first publish an experience, it's automatically set to private so that you are the only one who can play your game. However, creating on Roblox is always more fun when you can share what you make with your friends, so let's set up your experience so that others can play too.
To make your experience public:
Using the steps from the last chapter, publish your experience so your friends can see your latest changes.
In the top-left corner of your computer, click File > Game Settings. The Game Settings window displays.

In the Game Settings window,
- Go to the left bar and select the Permissions tab. New settings display.
- Set Playability to Public.

Click the Save button. Now everyone on Roblox can play your experience!
Continue learning
Basic parts are an excellent start for building in the 3D space, but Studio offers many additional features to create environments in your experiences, including:
- Materials that change the visual appearance and physical properties of parts.
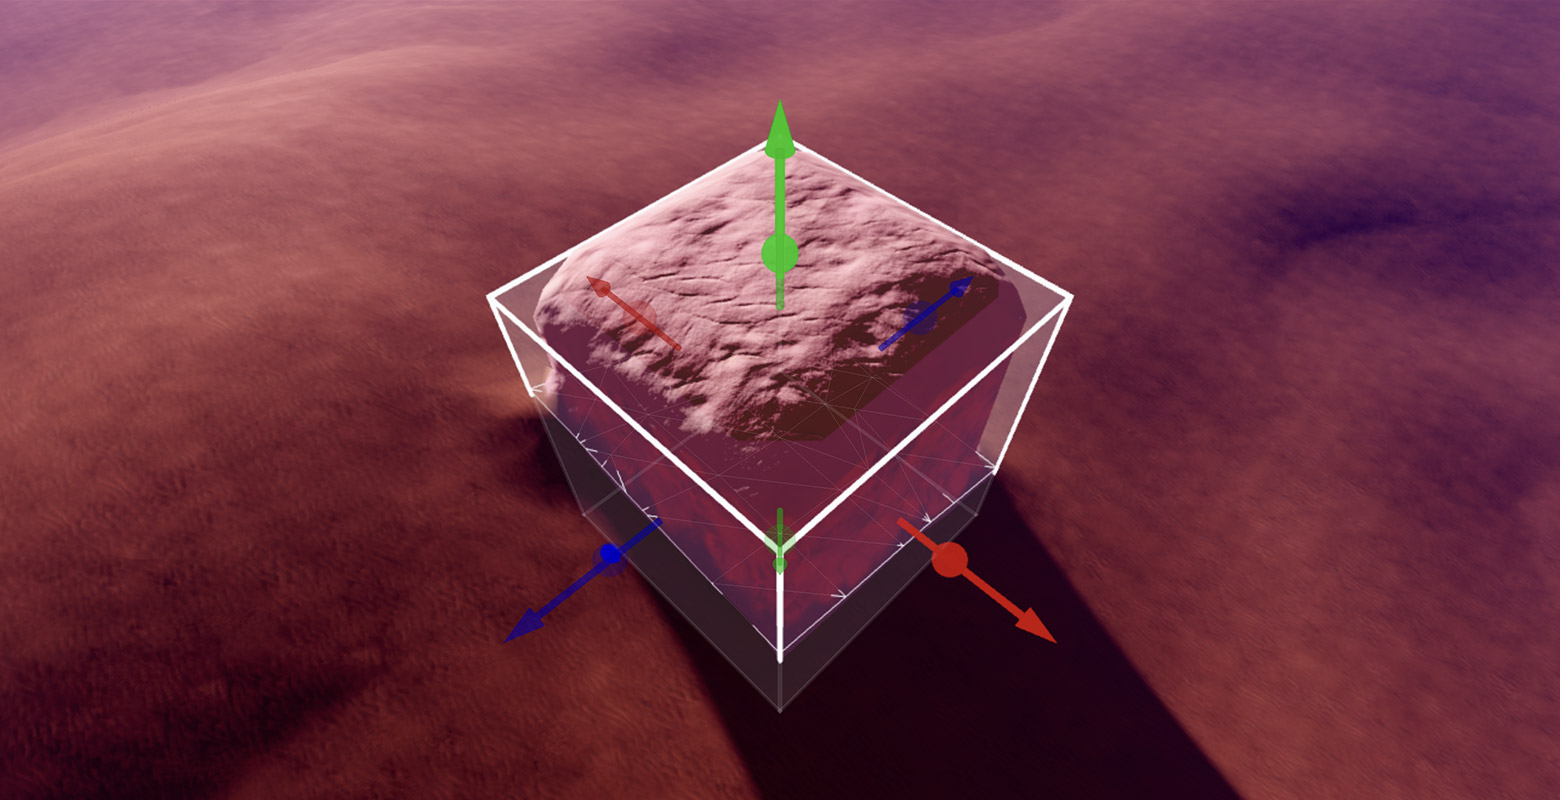
- Terrain Editor that generates realistic terrain environments, such as mountains, grass-covered hills, or a flat desert.
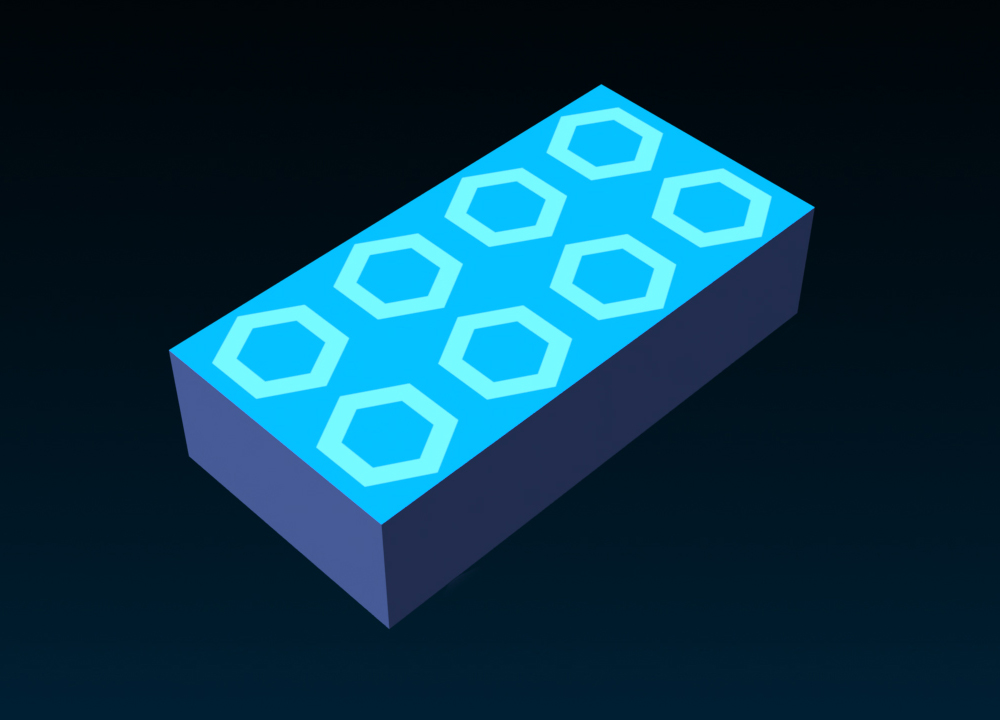
- Textures and decals that decorate parts with 2D images that either scale or stretch, respectively.
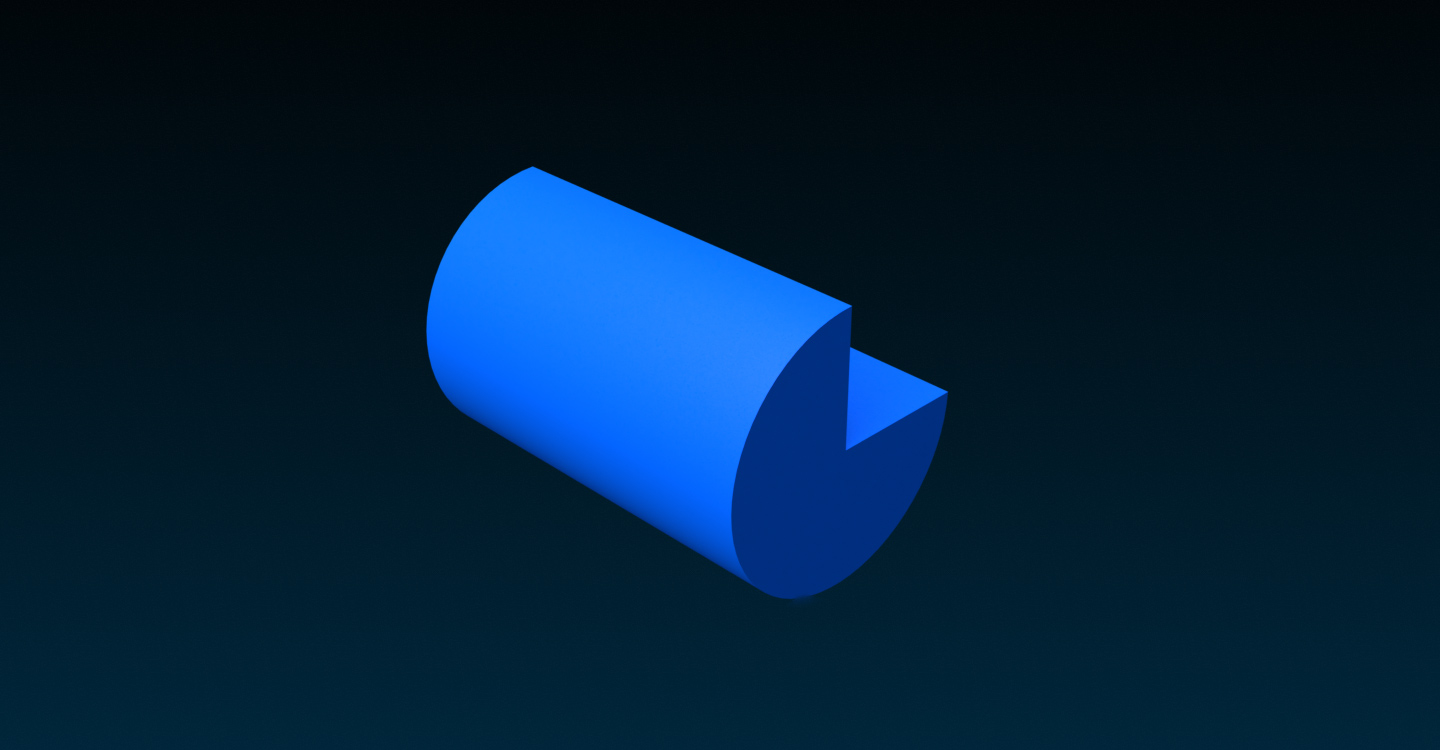
- Solid modeling operations that join parts together in unique ways to form more complex shapes known as unions or intersections.


If you want to continue learning through step-by-step lessons, check out the following use case tutorials: