Congratulations on completing your first animation with Roblox Studio! Now that you have experience working with keyframes and posing characters, you can share your work with friends and extend your skills by learning about Studio's additional animation features.
Share with friends
When you first publish an experience, it's automatically set to private so that you are the only one who can play your game. However, creating on Roblox is always more fun when you can share what you make with your friends, so let's set up your experience so that others can play too.
To make your experience public:
Using the steps from the last chapter, publish your experience so your friends can see your latest changes.
In the top-left corner of your computer, click File > Game Settings. The Game Settings window displays.

In the Game Settings window,
- Go to the left bar and select the Permissions tab. New settings display.
- Set Playability to Public.

Click the Save button. Now everyone on Roblox can play your experience!
Continue learning
The Animation Editor's basic tools are an excellent start while learning to create animations, but Studio offers many additional animation features to add liveliness to your characters and environment, including:
- Animation Capture tools that convert movement and expressions from live recordings or video uploads into keyframes.
- Inverse Kinematics that let you pose and animate multiple character parts by posing or adjusting a single object.
- Event markers that trigger custom behavior at specific keyframes in an animation.
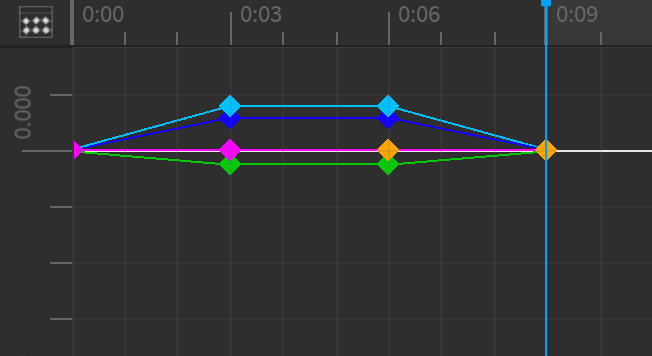
- The Curve Editor interface that lets you see and modify how a rig's position and orientation changes between keyframes through color-coded curve graphs.


If you want to continue learning through step-by-step lessons, check out the following use case tutorials: